Sunday 31 January 2010

Before and After Party! (A TV cabinet redo.)

Well hello! I am posting this party early this evening because I hope to spend the night finishing up loose ends on my home show presentations and spending quality time with my boys. :)

beforeAndAfterButton

I hope you had a great weekend! Since hubs was out of town, the Bubs and I were busy tearing up the house so my husband would come home and wonder what in the heck I was up to again working on the family room.

There is a major, serious thorn in my side when it comes our family room. You see, in the model, the fireplace was on the back wall, between two windows and the TV was in the corner. Somewhere along the line we both decided a corner fireplace would be super cool!! (Dripping with sarcasm.) So moving the fireplace then gave us the option to put the two windows together, which we did.

So that left exactly one five foot wall we could do anything with as far as the placement of the TV. FIVE FEET. Our TV cabinet fits in the space great, but the blasted subwoofer for our sound system is like three feet by four feet so it totally cramps that area. OK, it’s about 12 inches by 14 inches, but it has to go on the floor next to the cabinet, which makes everything tight. It has always really, really driven me nuts. Here’s an old pic that gives you an idea of how close the TV and cabinet were to the fireplace:

That doesn’t really do it justice – I mean, I was afraid they would burst into flames, they were so close to the fireplace. Really. I’ll have you know I even called our electronics store to see if they have any updated subwoofers (ours is six years old) that are smaller. Yes, they did! Yes, they are only ten by ten inches! And YES, they are only $700!!

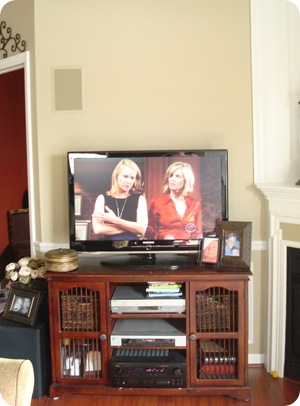
OK, moving on. Dealing with the mongo speaker. So the other day, I decided to ignore the speaker and center the cabinet on the wall. The mongo speaker would just have to jut out the other way a bit. Fine!:

(Yes, I love Y&R. Sue me. Can you even believe Adam? And can you believe the woman who plays Ashley is 50-something? OMG!)

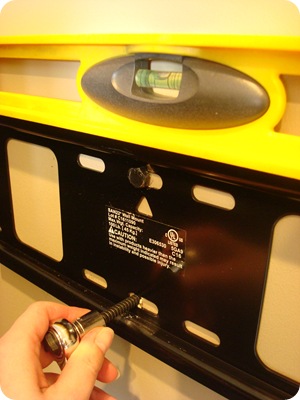
I decided a while ago that hanging the TV may help the cramped feeling of this area. A friend of ours told me how to hide the wires (yessssss) so I went for it. I got the right sized TV mount for only $50 at Target and it was surprisingly easy to hang. Just hang the mount into the stud, using a socket wrench (Dad is that what this kind is called?):

mount

Easy! Next step is to take it down and hang it again because you forgot to put the washers on the screws. Next step after that is to take it all down and hang it again because you hung it too low. Easy!!

Then you just attach the brackets to the back of the TV:
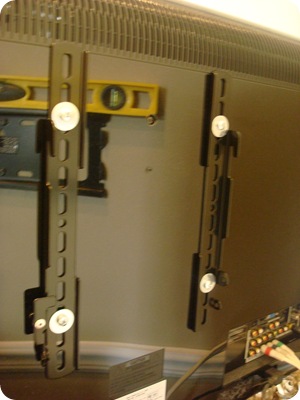
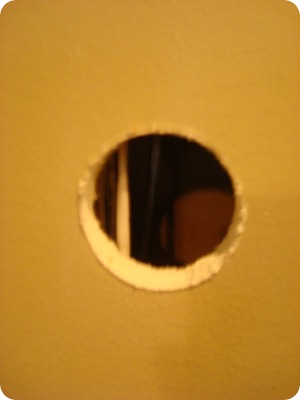
back of TVNow for the FUN part! Hiding the cords!!!! Glorious! You just find a spot in between the studs and drill a hole into the wall. There are large drill bits just for this type of project:

008 009

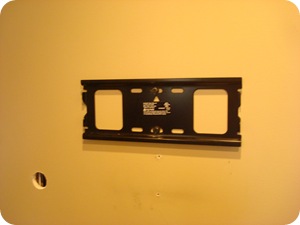
I placed mine where the cords came out of the TV, but it didn’t really matter where they were, as long as the hole was covered by the TV. Then I drilled another hole straight down the wall, put the cords down through the wall and reattached them to the TV. Then I hung the TV on the mount. It was so intimidating at first, but ended up being insanely easy to do.

(The next few pics are fuzzy because I took them at night, so bear with me.)

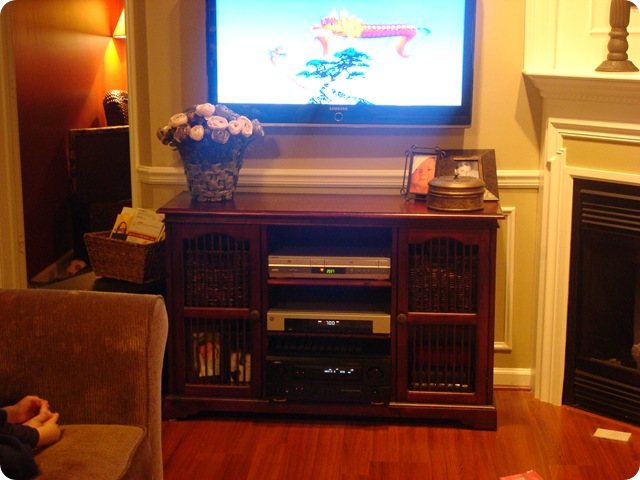
I looooved the TV hanging on the wall! It immediately felt like a breath of fresh air. But the TV cabinet was feeling so dark! It’s always been a dark hole of sorts. You couldn’t even see my lovely $3 Goodwill baskets! I decided to paint just the back of it so they would show up just a bit more:

Didn’t that work GREAT?

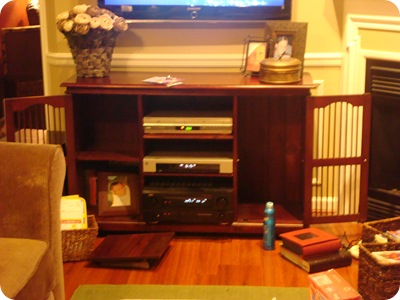
Uhhhh. Notsomuch. I realized the problem hasn’t been the dark cabinet, it’s been the doors on the cabinet. I love them, but you can’t see a darn thing inside. I mean, why have $3 Goodwill baskets if you can’t see them? And the picture frames look like they’re in jail. So I just took the doors and the hardware off!:

jute

Getting there!

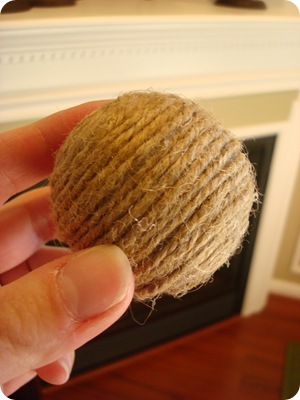
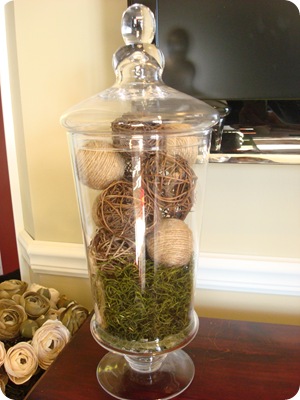
I wasn’t crazy with how the accessories were working out, so I moved some things around. I used an apothecary jar instead of the flowers and covered some styrofoam balls with jute for some additional filler:

037

Love them! They weren’t exactly fast to make – but good mindless project while watching TV. And they were free. Score!

I moved the baskets down below so they didn’t block the back quite so much:

(The back is painted the same Sisal color I used on the wainscoting squares from last week.)

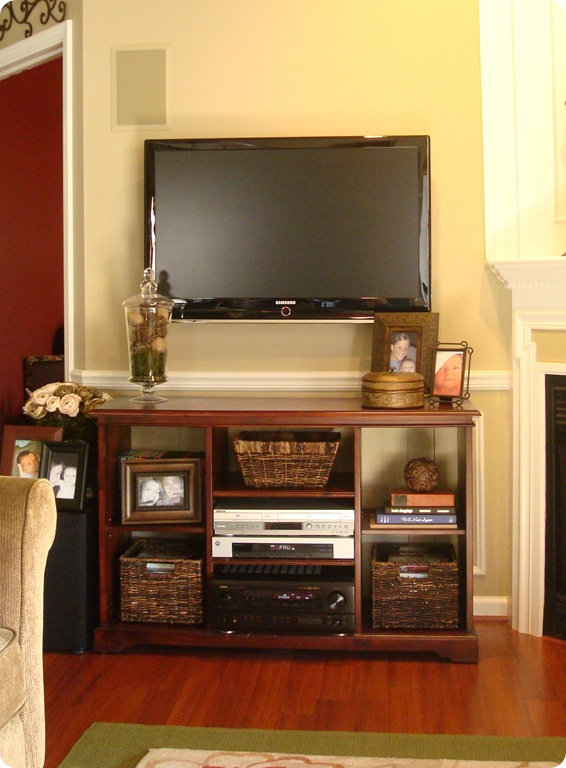
I couldn’t be more pleased with the result!:

after

Well, maybe I’d be more pleased with a 10 x 10 speaker. But saving the $700 meant I only spent $50 on this entire project – and that was for the TV mount. We watched about eleventy billion videos this weekend because the Bub can now access his DVDs (in the baskets) so easily! Those doors were hard to open, even for me. :)

So this month’s before and after…drum roll please…

before after

Love it! For those that are interested, the cabinet was a find at the Pier 1 outlet store about seven years ago. I found it on a lunch break and my girlfriend helped me drag it up the stairs of our old apartment. It was a long lunch break. ;) (Thanks Cheryl!!)

Can’t wait to see what you have worked on! Any project will do – we just need a before picture. Remember to copy and paste the url from your post into the linky, not your blog address. (I have to delete those!)

Have fun and let’s party!


Friday 29 January 2010

RIP Squishy (and come see me!)

fishWell, Squishy croaked. Or choked. Can a fish choke? I don’t know, but hubby checked on him the other night (he did every night, isn’t that adorable?) and all I heard was “Uhhh…honey? Did you feed the fish?”

Poor Squish was a floatin’. I almost cried. I couldn’t believe it! He was fine when I fed him the night before, and I saw him eating his food. But the food was still floating too. So sad! Squishy the Second will join us soon I’m sure.

If you’d like to see how I made his home, go here.

I know I promised the coffee table today, but I got caught up on another project and lost the good light to take pictures. :) Hate when that happens. I realized I forgot to remind you all about the Indy Home Show next week anyway:

Indy_125x125

I’ll be speaking two times a day on Monday, Tuesday and Wednesday:

Monday, 2/1 -- 11:30 a.m. and 12:30 p.m.
Tuesday, 2/2 -- 1 p.m. and 3 p.m.
Wednesday, 2/3 -- 2 p.m. and 3 p.m.

Monday the topic is molding and woodwork, Tuesday is using fabric and Wednesday is transforming Goodwill finds. Most of the presentations you all have probably seen on this blog at some point but I don’t care, come put your butt in some seats!!!!!!!!

Sheesh, sorry. Can you tell I’m afraid I will hear crickets? :)

I would love to meet you!

Have a great weekend, and I hope you will link up on Monday (probably late Sunday night) at the next Before and After Party!
Thursday 28 January 2010

Sayonara swirls!

014

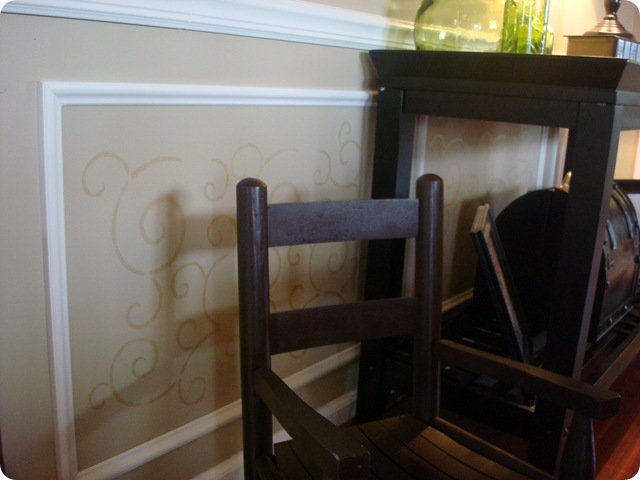
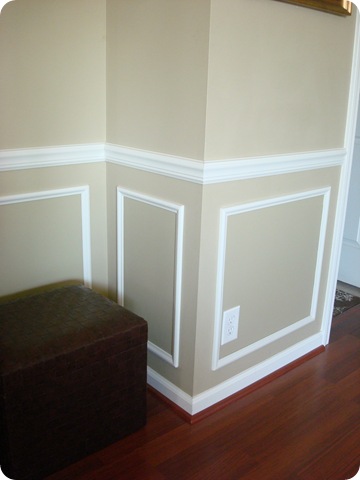
Well, it was time for them to go. I put the wainscoting on our family room walls a few years ago. Three years exactly really – the Bub was asleep in his bouncy seat while I installed all of them.  :) After being on bed rest for so long I was itchin’ for a project! I think he was less than two months old when I decided to attack this one.

I love stencils, I’m not gonna lie. You can see how I’ve used them on these posts. I think many times they can be the perfect finishing touch to a room or project. When I did these squares, I felt like they still need something. So for the past three years that something has been the swirl stencil I painted inside. (It is a large Stencil Ease stencil from Hob Lob.)

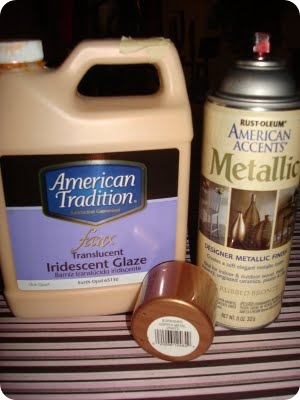
I only used my loverly iridescent glaze that I love love love LOVE. Love. This American Tradition stuff has lasted me years and I’m not even half way through it:

119

I thought the swirls would be a little more subtle because the glaze was all I used. I was surprised they actually showed up so well.

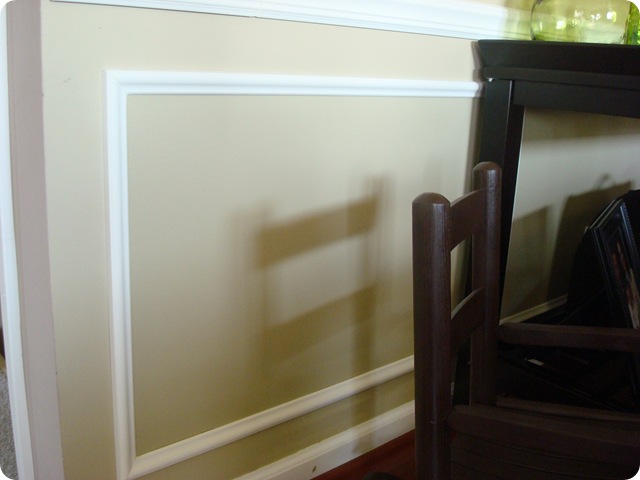
With the mini family room redo came a desire for simplifying the space, and that meant it was time to say goodbye to the swirls. I loved you swirls…I did. But last weekend I had to banish you. I am loving the simplicity of just the molding:

007

This little update cost zippo cause I used the paint from the basement staircase. It was the same Sisal color from Ralph Lauren, just darkened about 20 percent. Now the insides are just a teeny bit darker, which I love:

010Remember if you find a color you love, but it’s too light or dark, you can have it adjusted by percentages to get the tone you want. I love this – it’s an easy way to change up a color.

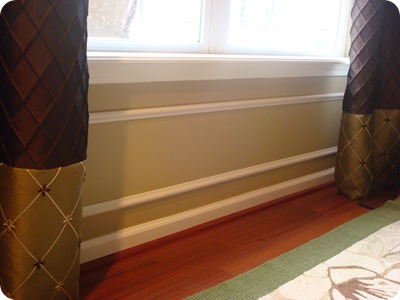
While I was at it, I added another wainscoting box to the space under the window, which I’ve been meaning to do foreva. Seriously, since the day I did these three years ago, foreva:

021

I’m not sure why I didn’t do it then. I think I ran out of molding? But this project was also fareeee because I took this molding off of our bay windows in the kitchen. I’m using a different type of molding to finish off the casing around all our windows in the house, so I popped those right off.

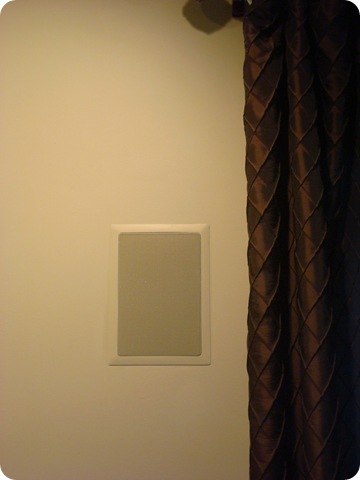
I was on a roll peeps! Remember when I complained about our bright white surround sound speakers back on this post? Well, one of you commented that you simply used a foam roller with just a scosh of paint (yes, I just said “scosh”) on them, and it worked like a charm:

022

Whoohoo! I didn’t even take them off the wall. Double whoo! I can’t tell you how much I LOVE not having these glaring at me every day. It’s the little things for me, really.

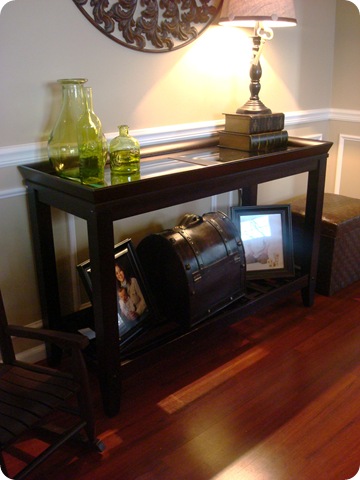
Finally, the hall table in this room was a purchase at a furniture outlet years ago and it was a steal! It was a steal because it swayed and wobbled like the dickens. (Yes, I just said “dickens.”)

033

I figured there had to be a way to tighten it up, so I took everything off, turned the whole thing over and adjusted all the screws. Voila! It’s perfect now. It only took me six years to fix.  ;)

Simple changes and they didn’t cost me a cent! The room is really coming together! One more project to complete and I’ll be finished. I think. I hope to show you the new Goodwill coffee table tomorrow –- it’s pretty much done. I think. Gah.

So what do you think -- do you miss the swirls? Or do you like the simple look? That’s the beauty of paint – it’s so easy to change up!!

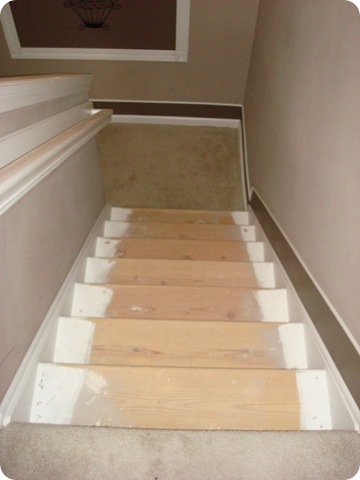
Oh yeah – the carpet is almost all off the stairs!! The landing is still covered with nasty carpet but that will be the last part I attempt. I hope to start painting the risers tomorrow and then I will decide if I want to sand the heck out of the treads so I can stain them. Right now painting is looking real good, but I need a night off and then I’ll decide. :)

I sincerely, desperately hope that I will never see another staple for as long as I live. Ever.

Tuesday 26 January 2010

Decrapification: The pantry

026

OK, this is super weird, but when I just went to go find the post I did about our pantry last year, I realized it was almost exactly a year ago that I reorganized our pantry last time.

I showed you here in January of last year how I used a smokin’ deal at the discount store to reorganize this space. Well, a year later, I still don’t have the new door with seedy glass and a light installed inside making it glow and the angels sing and all that…but it is clean and organized again.

Just like with everything else in our house, it stays fairly together till the holidays hit…and then it all goes to you-know-where. The pantry included:

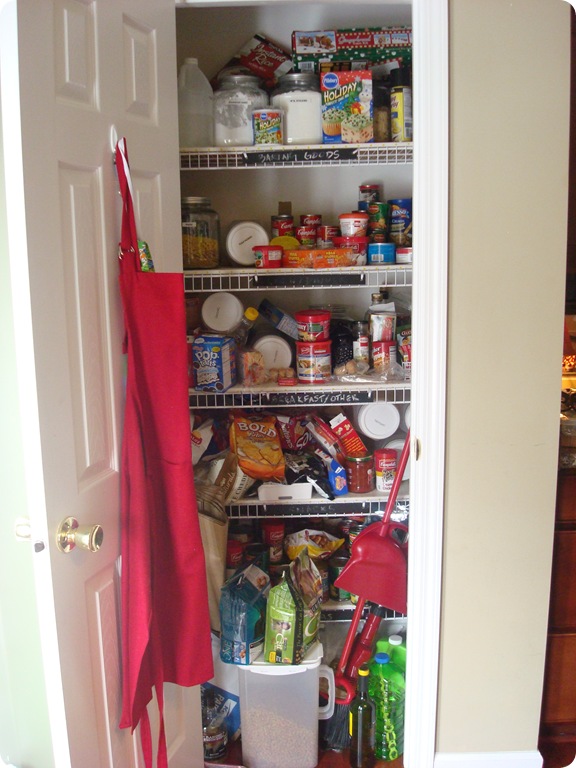
006

Good God. Help. Bubbles? Check. Half eaten donut? Check. Christmas choo choo gingerbread kit? Check.

People, I couldn’t see where the Doritos were. This was serious.

008 010

Today, when I went to find the mac and cheese for our lunch and it took five minutes to find the box, I decided it had to end, STAT.

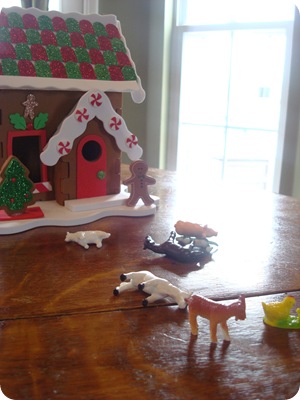
I cleared the farm animals and Christmas decor off the table:

005

(Anyone still finding pieces of Christmas everywhere?!)

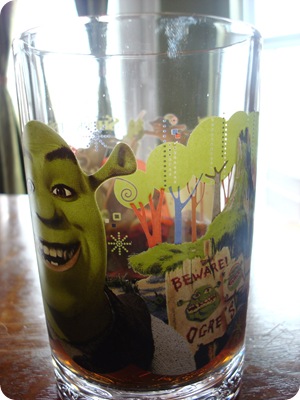
I poured myself a glass of cold Pepsi:

012

Shrek glass please, no ice.

And I went to work. Because everything was still on it’s “home” shelf (they are split up into baking goods, lunch/dinner, breakfast/other, snacks and extras) I just pulled off every single item from each shelf and worked on one at a time.

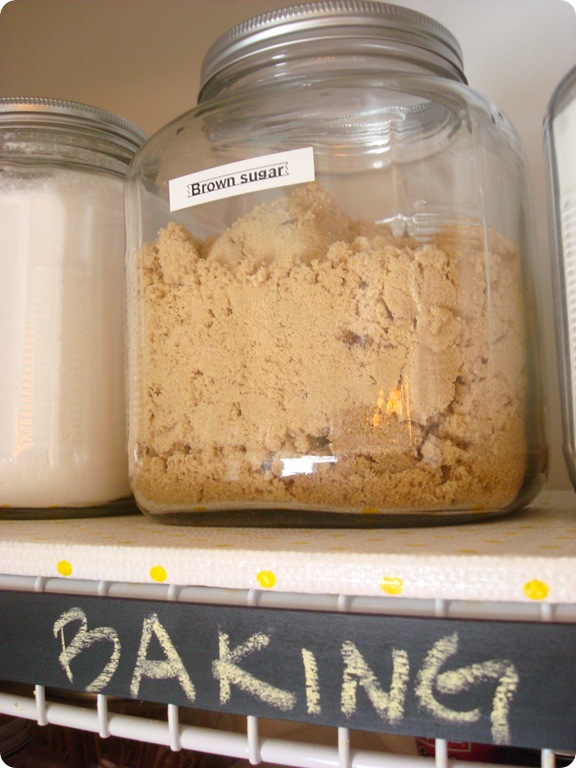
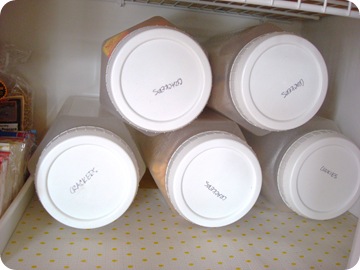
The fab large glass containers hold baking goods and drink mixes:

033

I also have smaller glass containers for sugar, chocolate chips, marshmallows, etc.

All crackers and cookies fit into the dollar containers from the same store:018

I also use these containers for lunch and breakfast items that come individually wrapped. This creates SO much more space – boxes and bags take up a ton of space in the pantry, in my opinion. And it’s so easy for the little guy to grab a container when he wants a snack.

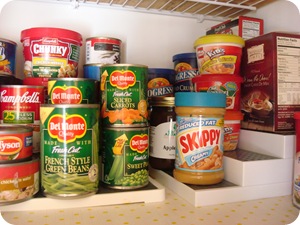
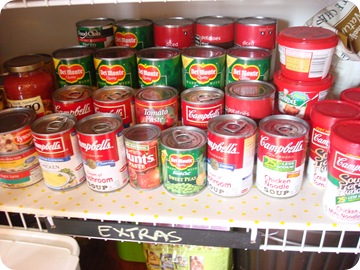
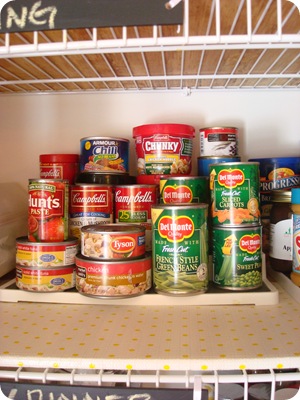
I use the tiered jobbers from Target for all the canned goods:

040029

The bottom shelf is only for extra items. When it’s not organized, I buy more of what we already have. Hence the ten cans of cream of mushroom soup. (Tuna noodle casserole tonight baby!):

043

I have to tell you, taking these pictures hit me hard for a minute – how fortunate are we to have a pantry full of food? Seriously, it is a bit humbling to get it organized and to see how much we have.

I hang things inside closets often – there is usually so much unused space! The broom, plastic bag holder, etc., all hangs up out of the way:

035 036

We can close the door again!! Whoohoo!!

014

And you can see the floor! Awww yeah. A blissful, organized space for FAREEEE!

Guess what we’re making tonight?:

044

Yes, yes we are.

Can you find the mac and cheese in your pantry? :)

Monday 25 January 2010

No fear!

game OK, first…awwwwww yeah Colts!!!!!!!

What a great weekend!! Got some quality time with my hubby and my Bub, and got to go to the most exciting football game of the year because of my lovely, gorgeous, fantastic friend. No, that’s not her in the picture. ;) Hope you had a great weekend too!

Amanda (lilgrebs4 (at) hotmail (dot) com) won the free room consultation by My Design Guide! Amanda, email me and I’ll get you in touch with them. Congrats!!

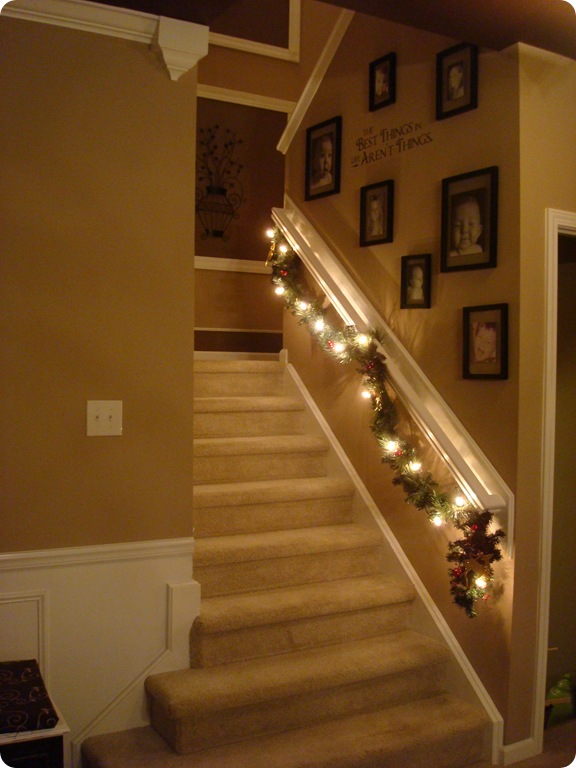
So some of you may remember back in December when I showed you our decked out staircase and I mentioned I had a teeny tiny project in mind? OK, not tiny. Big. HUGE. Big for me anyway – the biggest project I’ve attempted in our house.

Back when our house was being built, I was here at least once a day checking out the progress. Our superintendent and I were BFFs. We were likethis. I had his number on speed dial. I’m sure he groaned every time my name came up on his phone, but he was awesome about it and was so great to work with.

One day I walked in and what I saw took my breath away. Our stairs (that were waiting for carpet) were GORGEOUS. Stunning. I mean, really. The shape was great because they wrap around at the bottom, which I love:

017

And the actual steps were beautiful, with rounded edges. Real wood too, not plywood. I stood there, admiring them. I debated back and forth and back and forth about a meeellion times on whether or not I should call said superintendent and ask him to just have them stained instead of carpeted.

In the end, I decided to just have them carpeted. I wasn’t sure how hard stairs would be as far as comfort, upkeep, etc. So the carpet went on. And I have wanted to take it off since that day. ;)

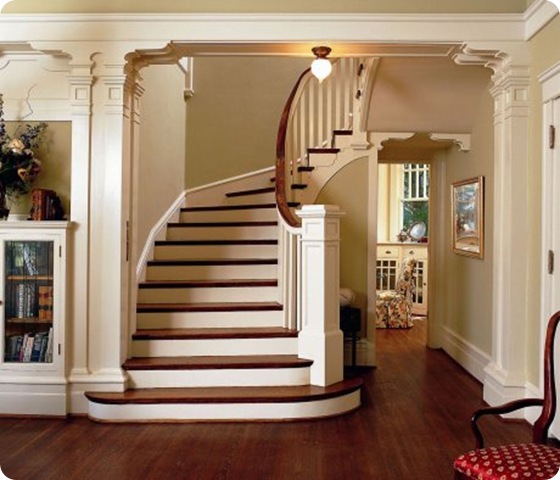
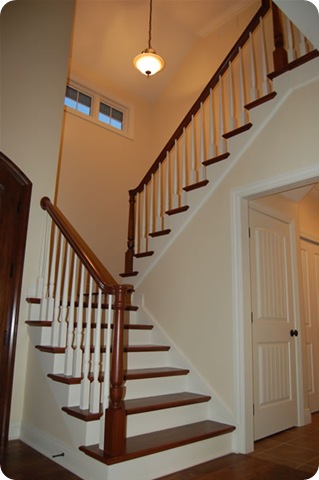
My desire to do this has just gotten worse since blogging. I see these fantastic, gorgeous stairs and I just KNOW our stained, gross staircase could be one of them someday…

design20509 staircase1OK, OK, minus the fabulous railings and doors and floors and molding…minus all of those, they will be fantastic!!

It was uncharted territory for me on many levels – and I researched it for almost a year. I searched online, asked bloggers about it who had hardwood stairs. There were many aspects of it I was afraid of. The biggie was tearing up carpet. It just looked so…secure. I thought it would be a huge pain in the butt.

My father-in-law has been here often as he goes through his cancer treatments (he’s doing great by the way!), and the business he built and operated for years was tile and carpet installation…so who better to help me? DUH!

The other day I pulled up a corner of the carpet on the landing when he was here. This was the only area that I didn’t think was covered by the pretty wood and I was right, it’s just plywood. But my FIL assured me we could make it work by covering it or putting down new flooring.

We set up a time for him and one of his former employees to come by to take off some of the carpet on one of the stairs to see how it looked. Then we would determine if the whole project could move forward. I was so stinking excited I could barely stand it!

And then they had to postpone twice.

I am many things, and patient is not one of them. When I twittered about it this morning, all of you lovely peeps encouraged me to just go after the project on my own…and so I decided I would. I used a wrench and just started pulling on the carpet. I figured I could have my FIL fix it later this week if the stairs weren’t how I remembered. I came off so easily! I was squealing with glee seeing the wood and the curved steps…this was going to work!!
Reason number 539 I wanted the carpet gone:

083

The darker areas? Yeah, I thought the treads were bad. The edges of them were waaaaay worse. I mean, how do you clean that? Nasty:

082

As far as I knew, we’ve only had one spill on these stairs. It was me, years ago, and it was a whole glass of Pepsi on a couple of the steps. :) Well, I was wrong:

  085

Ummmmkay, that is nasty!! What the heck is all that? I mean, I see the Pepsi (which I thought I completely cleaned up!) but what else is there? Heebies.

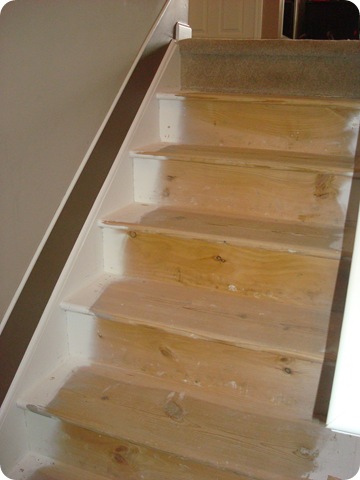
Well, it took about two hours total…but here is the result:

 088

This is just the upper staircase. The carpet was way easy to get off. So was the padding. The tack strips weren’t bad either – I thought those would be a huge pain. But the staples…oh, the staples. They weren’t as bad as my dining room chairs. But it took a good hour just to get all of them out. I figured out an easier way to do it towards the end and I’ll show you how I did that soon.

 090That top step will be uncarpeted, but it’s connected to the upstairs carpet, so I’m waiting on the professionals to cut that part.

I’m also waiting on them to do the rest of the stairs later this week, and I’ll show you the steps then. This is not a project you want to do with a three-year-old around, otherwise I would do for the rest of it myself. :) (He was at school when I did this.)

091See that nasty landing??? Ewwwwweeee!

My main concern about hardwood steps was the slip factor. Mostly because of the Bub, but I also have a tendency to fall down stairs. I do it often. And I’m good at it. I asked a ton of people about it and ALL said their hardwood stairs (not laminate, btw) are less slippery than the carpet.

So far this is very much the case. I’m hoping to be able to sand off all of the overspray and stain these, but if not, there is an additive you can add to paint that gives it more traction. I’ll let you know what I end up doing! The risers will get a high gloss white paint.

Oh yeah, and our house smells like pine again…it’s fantastic!!  :)

So what’s the word…do you have hardwood stairs? Love them? Hate them? Is there something  you are dying to do in your house but are sceeered? Why are you afraid? Money? No know how? No time?

Really, how much could you mess it up if you just went for it? Ummm, maybe don’t answer that…